 How-to
What Should You Do When a Pipe Bursts in a Wall?
Last Updated: October 25, 2026
Quick Summary
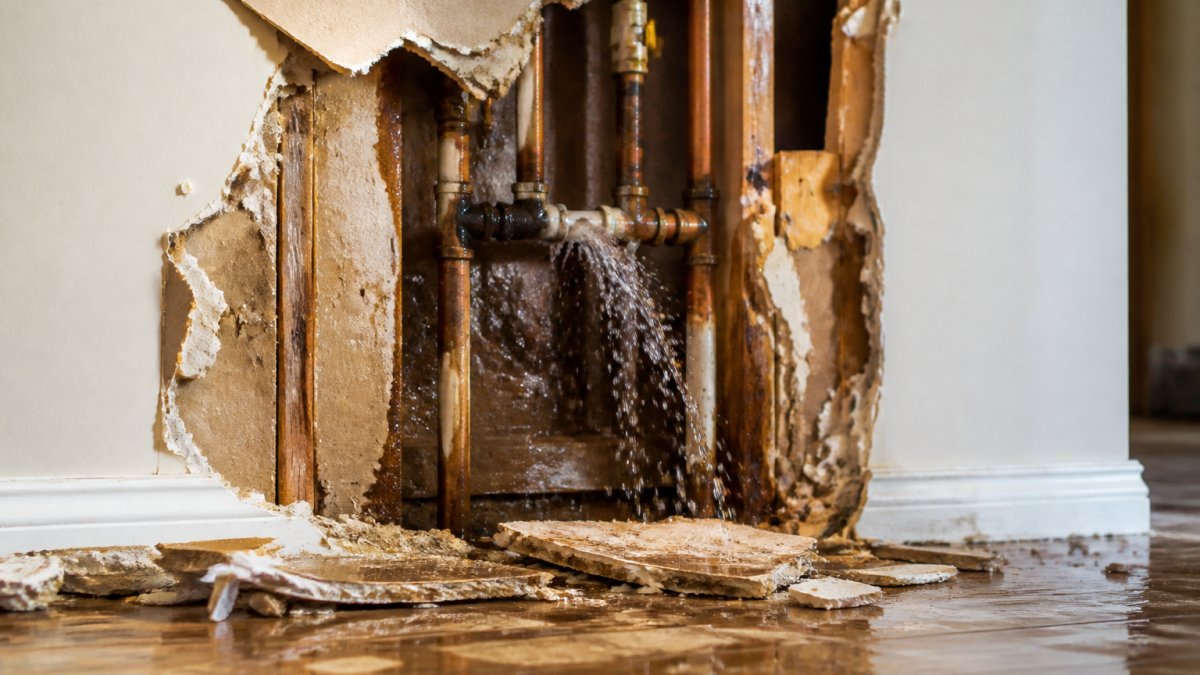
When a pipe bursts in a wall, shut off the main water supply first by turning the valve clockwise until it stops. Then cut power to wet areas at the breaker panel if it is safe to reach, and drain the lines by opening the lowest faucets while catching water with buckets and towels.
- Never stand in standing water to flip a switch; leave a wet panel alone and call an electrician.
- Poke a small hole in a bulging ceiling bubble over a bucket to direct water into one controlled stream.
- Test your main valve by opening a faucet and closing the valve; if water stops, you are ready.
- Photograph and video every affected room before cleanup, including water lines and serial numbers.
- Do not run a plunger, drain snake, or drain chemicals into a suspected burst line.
Table of Contents
- What to Do First When a Pipe Bursts in a Wall
- How to Shut Off Water to House: A Step-by-Step Walkthrough
- Signs of a Burst Pipe in a Wall You Should Not Ignore
- How to Prevent Water Damage from a Burst Pipe Before Help Arrives
- When to Call an Emergency Plumber for a Burst Pipe
- What Wall Repair and Drying Look Like After the Leak
- Book a Licensed Plumber for Your Burst Pipe
- Frequently Asked Questions
What to Do First When a Pipe Bursts in a Wall
Water is running down your drywall and you have minutes, not hours, to limit the damage. For the broader emergency plumbing services playbook, keep it handy before the next crisis.
- Shut off the main water supply.
- Cut power to wet areas if it is safe to reach the panel.
- Drain the lines and start catching water.
Act on these in order. Each one buys you time before a plumber arrives.
Shut Off the Main Water Supply
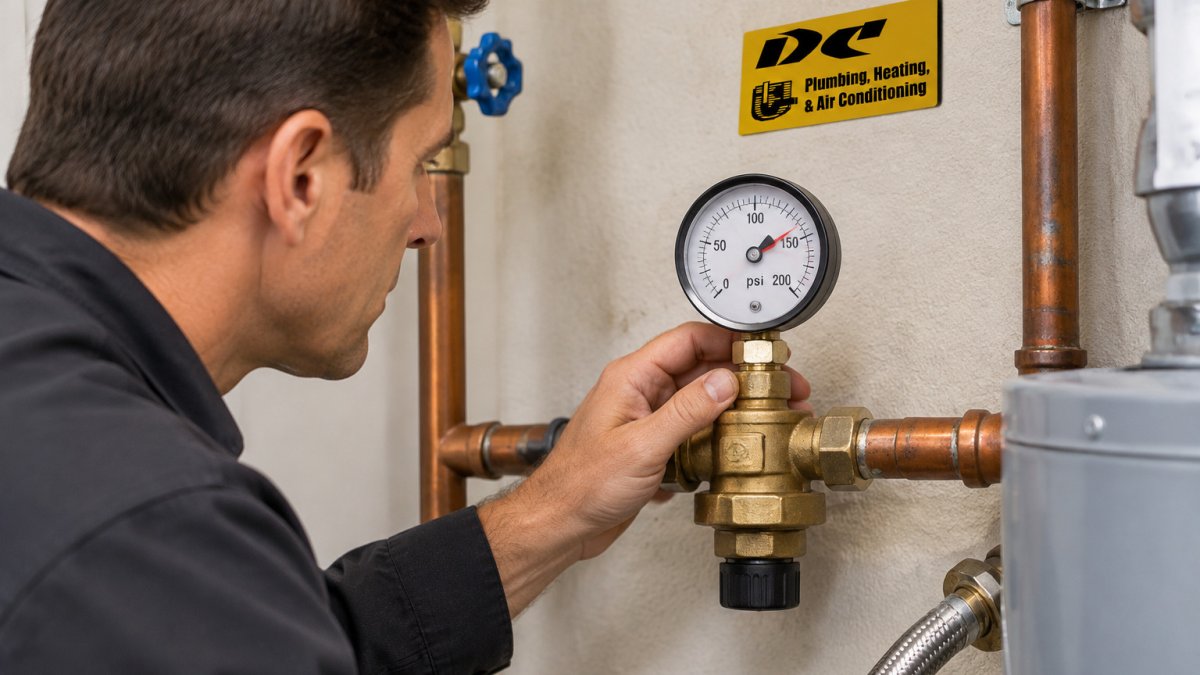
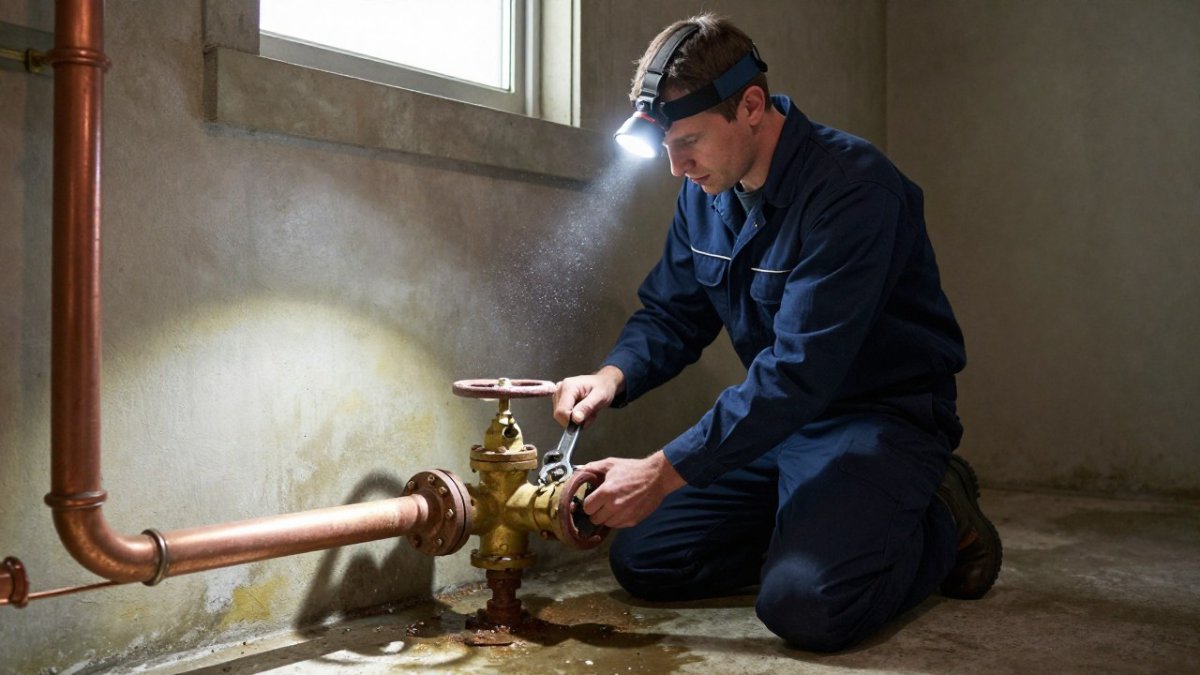
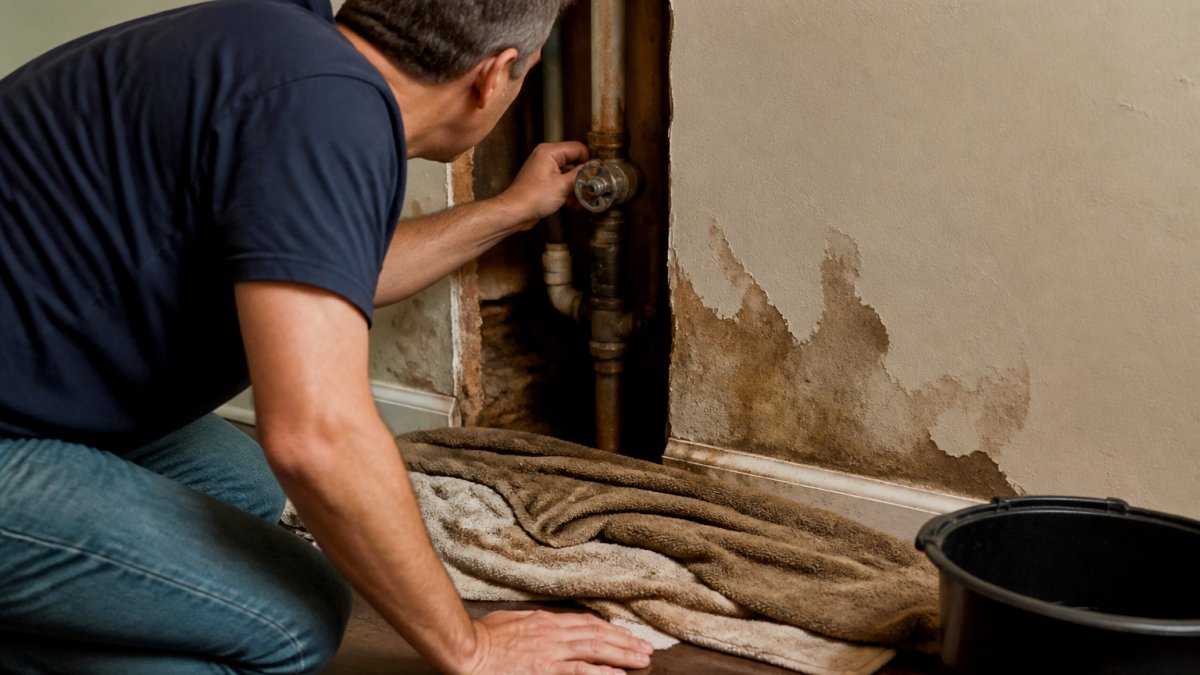
The main shut-off valve is the valve where water enters your home, usually near the water meter or where the supply line comes through an exterior wall. Turn the handle clockwise until it stops. If it is a lever, push it a quarter turn so it sits across the pipe.
This single step stops new water from feeding the leak. Everything after it is about managing what has already escaped.
Cut Power to Wet Areas
Water and electricity do not mix. If water is near outlets, light fixtures, or appliances, switch off the breakers for those rooms at the panel. Never stand in standing water to flip a switch. If the panel itself is wet or you cannot reach it safely, leave it alone and call an electrician.
Drain the Lines and Contain the Water
Open the lowest faucets in the house, plus any outdoor spigots, to drain pressure from the pipes. Flush toilets once to empty the tanks. Then grab buckets, towels, and a wet/dry vacuum to catch water at the ceiling or wall.
Poke a small hole in a bulging ceiling bubble over a bucket. It sounds wrong, but it directs the water into one controlled stream instead of a sudden collapse.
How to Shut Off Water to House: A Step-by-Step Walkthrough
Most homeowners have never touched their shut-off valve until an emergency. Here is how to shut off water to house systems before the next crisis hits.
- Locate the main valve. Check near the water meter, in a basement, garage, or utility closet.
- Clear access. Move boxes and debris so you can reach the handle fast.
- Turn clockwise to close. For a ball valve, the lever should sit perpendicular to the pipe.
- Test it. Open a faucet, then close the valve. If the water stops, you are ready.
- Tag it. Wrap a bright tag around the valve so anyone in the house can find it.
Gate valves that sit unused for years can seize. If yours will not budge, do not force it hard enough to break the stem. Call a licensed plumber to replace it before a real emergency.
Signs of a Burst Pipe in a Wall You Should Not Ignore
Some bursts announce themselves with a gush. Others hide behind drywall for days. Catching the quiet ones early saves thousands in water damage and mold cleanup.
Watch for these warning signs:
- Brown or rust-colored stains on walls or ceilings
- Paint that bubbles, blisters, or peels for no reason
- A musty smell that will not go away
If you spot two or more of these, shut off the water and get the wall checked. A slow hidden leak can rot framing and feed mold growth long before you see a puddle.
Hidden Leaks: What to Look and Listen For
A hidden leak is water escaping inside a wall cavity where you cannot see it. Press your palm against suspect walls. Warm or damp spots point to a leak behind them.
Shut off every fixture and appliance. Note the meter reading. Wait two hours without using water, then check again. If the dial moved, water is escaping somewhere.
How to Prevent Water Damage from a Burst Pipe Before Help Arrives
Your goal while waiting for a plumber is to contain the water, protect your belongings, and preserve evidence for your insurance claim.
Move furniture, rugs, and electronics away from wet areas. Lift items onto blocks or shelves so they stay off damp carpet.
For a deeper look at stopping this problem at the source, see our guide on preventing frozen pipes in winter.
Move Belongings and Document Everything
Photograph and video every affected room before you clean up. Capture:
- Water lines on walls and ceilings
- Damaged furniture and personal items
- The leak location itself
Call your insurance company and start a claim file the same day. Most policies cover sudden pipe bursts, but they expect prompt reporting and clear records. Keep receipts for any emergency purchases like fans or dehumidifiers.
What Not to Do
A few common reactions make a burst pipe worse. Avoid these:
- Do not run a plunger or drain snake into a suspected burst line.
- Do not pour drain chemicals into the pipes.
- Do not use a regular household vacuum on standing water.
Each of these can spread water, cause a shock risk, or void part of your insurance claim.
When to Call an Emergency Plumber for a Burst Pipe
Call an emergency plumber the moment you cannot stop the water or the leak is inside a wall. A burst pipe in a cavity is not a do-it-yourself repair.
Call right away if:
- The main valve will not close fully
- Water is near electrical panels or wiring
- The ceiling is sagging or bulging
Our team at DC Plumbing Heating and Air Conditioning answers emergency calls 24/7 with licensed, certified technicians. For a closer look at how fast response works, read our 24 hour emergency plumber guide.
What Wall Repair and Drying Look Like After the Leak
Fixing the pipe is only half the job. The wall and any soaked materials need to dry completely, or mold growth can begin within days. A proper repair follows a clear sequence, and knowing what to expect helps you ask the right questions and avoid a contractor who wants to close the wall too soon.
Step 1: Find the leak before opening the wall
A pro rarely starts by swinging a hammer. The usual sequence is a moisture meter to map wet drywall and framing, a thermal camera to spot temperature differences behind the surface, and sometimes an acoustic listen at the pipe. That narrows the cut to a small, targeted opening instead of a wall-wide demolition. If you have already shut off the water and drained the lines, tell the plumber, it speeds up the search.
Step 2: Open the wall in a controlled way
Expect a clean, squared cut around the suspected area, not a jagged hole. The pro removes only what is wet or in the way, saves a sample of drywall and paint for matching, and sets up plastic sheeting and a negative-air machine if mold risk is high. This is also when wet insulation is pulled out, insulation that stays wet is a mold reservoir and will not dry in place.
Step 3: Repair or replace the pipe section
The burst section is cut out and replaced, or a coupling is installed if the break is clean. The line is then pressure-tested before the wall is closed. Ask for that test; a repair that is not pressure-tested can fail behind new drywall and start the whole cycle again.
Step 4: Dry to a verified reading, not a calendar date
Drying is measured, not guessed. A restoration tech sets moisture meters and sometimes a thermo-hygrometer to track drywall, framing, and ambient humidity, and runs air movers and dehumidifiers until readings return to a normal dry baseline. The common benchmark is that structural materials reach a stable dry reading, often several days of equipment run time, not a single afternoon of fans.
| Stage | What Happens | What to Confirm |
|---|---|---|
| Leak detection | Moisture meter, thermal camera, acoustic listen | Cut is targeted, not wall-wide |
| Controlled opening | Squared cut, wet insulation removed, containment set | Drywall sample saved for match |
| Pipe repair | Burst section replaced or coupled | Pressure test before closing |
| Structural drying | Air movers and dehumidifiers run to a dry reading | Moisture readings documented |
| Wall repair | New drywall, tape, mud, sand, paint | Match to existing texture and paint |
| Final check | Moisture test and leak test before paint | Dry reading confirmed in writing |
Step 5: Restore the wall
Only after the cavity is dry does the drywall go back. That means new board, tape, mud, sanding, texture match, and paint. A small repair may be a same-week patch; a larger opening behind tile or a finished wall can take longer because the finish has to be matched. Ask whether the plumber handles the drywall or whether you need a separate drywall or restoration contractor, many plumbing companies stop at the pipe.
What drives the timeline and cost
The two biggest variables are how much wall has to be opened and how wet the cavity got. A small, quickly caught leak may dry in a few days and need a patch. A leak that ran for a week can soak insulation and framing, require more removal, and push drying and restoration out further.
Watch out: closing up a wall before it is fully dry traps moisture and invites mold. Always confirm dry readings first.
After the repair, a routine maintenance plan helps you avoid the next failure. Our residential plumbing maintenance checklist walks through what to check each season.
Book a Licensed Plumber for Your Burst Pipe
A burst pipe is stressful, but the right plumber makes the recovery simple.
At DC Plumbing Heating and Air Conditioning, we have served homeowners and businesses since 1989. Every job comes with upfront pricing, no surprise fees, and warranties on parts and installation.
Not sure who to call? Our guide on how to choose a reliable plumber covers the questions to ask before you book.
Frequently Asked Questions
What should I do first if a pipe bursts in a wall?
Shut off the main water supply immediately. Turn the valve clockwise until it stops, then open a low faucet to drain remaining pressure. If water is near outlets or a light fixture, cut power to that area at the breaker only if you can reach it safely. Move valuables away from the wet zone and call a licensed plumber. Every minute the water runs adds to wall, flooring, and ceiling damage.
How can I tell if a pipe has burst behind a wall?
Watch for signs of a burst pipe in a wall: a sudden drop in water pressure, a hissing or dripping sound inside the wall, bulging or bubbling paint, brown or rust-colored stains, musty odors, or unexplained spikes in your water bill. A water meter that keeps spinning with every fixture off is one of the clearest signals. If you notice any of these, shut the water off and get a plumber to inspect before the damage spreads.
Can I fix a burst pipe in a wall myself?
Temporary fixes like pipe wrap or a clamp kit can slow a leak, but a wall cavity repair is not a DIY job. The pipe must be exposed, the damaged section cut out, and a proper coupling or new line soldered or pressed in place. Cutting into drywall without knowing where wires and studs run risks electrical shock and structural damage. A licensed plumber confirms the leak location, repairs the line, and checks for hidden moisture.
How do I prevent water damage from a burst pipe while I wait for a plumber?
Contain the water first. Place buckets under drips, lay towels or tarps along the floor, and move furniture and electronics out of the affected area. Photograph everything before you clean up for your insurance claim. Open interior doors to improve airflow, and run fans or a dehumidifier if you have them. Do not punch holes in the wall yourself. A plumber or remediation tech should open the cavity so the repair is done safely.
A burst pipe will not wait for business hours, and neither should your plumber. DC Plumbing Heating and Air Conditioning offers 24/7 emergency service, licensed and certified technicians, and transparent pricing with no surprise fees. Get started with DC Plumbing Heating and Air Conditioning and stop the water before it spreads.