 How-to
Preventing Frozen Pipes in Winter: A Step-by-Step Guide
Table of Contents
- Why Frozen Pipes Happen and When You're at Risk
- How to Winterize Pipes Before Cold Weather Arrives
- Pipe Insulation for Winter: Choosing and Installing the Right Materials
- Daily and Nightly Prevention During Cold Snaps
- What to Do If Pipes Freeze: Response and Recovery
- Prevention for Renters and Shared Buildings
- Your Winter Plumbing Prevention Checklist
- Frequently Asked Questions
Last Updated: October 20, 2026
Why Frozen Pipes Happen and When You're at Risk
Frozen pipes are a common winter plumbing emergency. Water expands roughly 9% when it freezes, building pressure that can crack or burst the pipe.
Pipes exposed to outdoor temperatures or in unheated areas are most at risk.
Minimum Temperature to Prevent Pipes from Freezing
Pipes can freeze below 32°F, but the real risk kicks in around 20°F and colder, depending on wind chill, cold duration, and insulation.
Pipes in unheated areas like basements, crawl spaces, garages, and attics freeze faster than those in heated spaces.
Don't wait until the thermometer hits 20°F. Start preventing frozen pipes when temperatures drop below 50°F, especially if you'll be away or your heating system is aging.
Which Pipes Freeze First
Exterior walls are the first casualty. Pipes along outside walls, particularly on the north side where sun exposure is minimal, freeze before interior pipes.
Water supply lines are more vulnerable than drain lines because water sits still in supply pipes between uses.
Pipes in these locations freeze first:
- Outdoor faucets and hose bibs
- Pipes in unheated crawl spaces
- Supply lines in exterior walls
In older homes, watch basement pipes near the foundation wall, where cold air leaks through cracks and gaps.
How to Winterize Pipes Before Cold Weather Arrives
The best time to winterize pipes is in fall, before the first freeze. Winterizing means insulating vulnerable pipes, sealing air leaks, and preparing your system for cold weather, a few hours of work that prevents thousands in water damage.
Start by identifying which pipes are at risk. Walk your basement, crawl space, attic, and garage, and mark pipes exposed to outside air or in unheated spaces.
Insulate Exposed Pipes and Vulnerable Areas
Pipe insulation is your first line of defense, slowing heat loss to keep pipes warm enough to prevent freezing.
The most common insulation materials are:
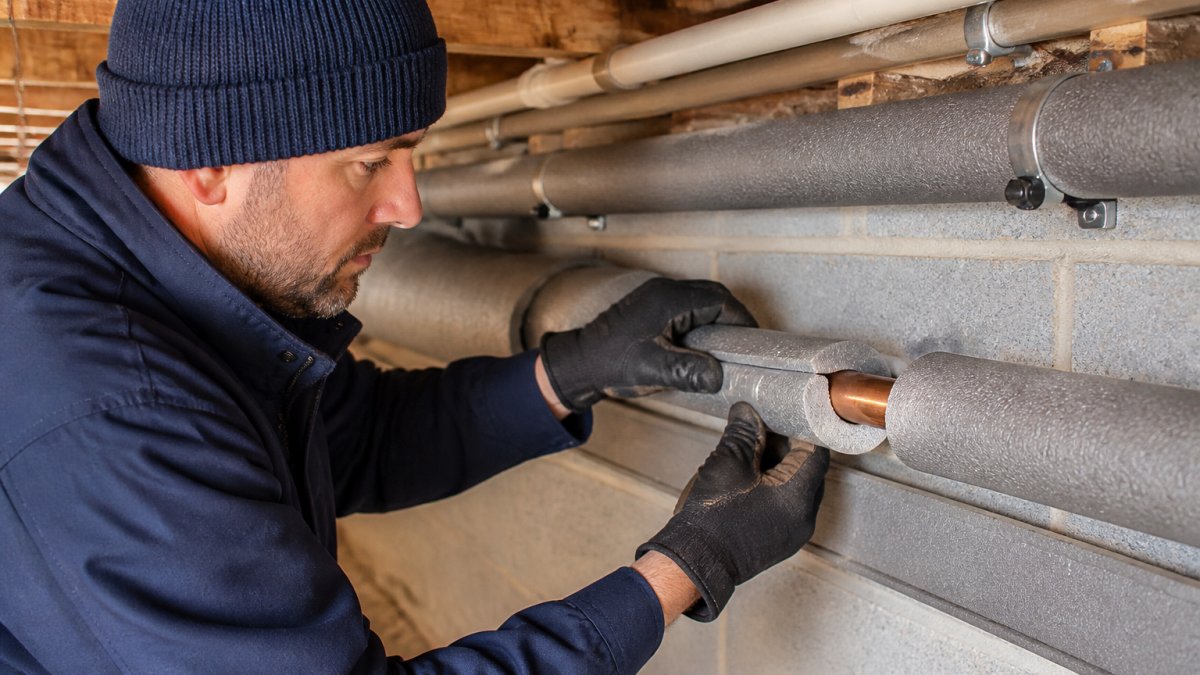
- Foam pipe sleeves: Pre-slit foam tubes that slide over pipes. Easy to install, affordable, and effective for most homes.
- Fiberglass wrap: Flexible insulation wrapped around pipes and secured with tape. Works well for irregular shapes and tight spaces.
- Heat tape: Electric heating cables that warm the pipe directly. Best for extremely cold locations or severe freezes.
To install foam sleeves, measure your pipe diameter first (standard sizes are ½-inch, ¾-inch, and 1-inch).
For fiberglass wrap, unroll it along the pipe, overlap each layer by half, and secure with tape every 12 inches.
Pay attention to elbows, tees, and connection points, which lose heat quickly.
Seal Drafts and Air Leaks Near Pipes
Seal gaps around pipes where they enter exterior walls, basements, or crawl spaces, using caulk or foam sealant.
Check around:
- Rim joists where pipes pass through foundation walls
- Holes in exterior walls for water lines
- Gaps around window and door frames
Caulk is cheap and takes minutes to apply; foam sealant works for larger openings. Both prevent cold air from flowing directly onto your pipes.
If your basement or crawl space is unheated, also seal openings that let warm air escape from the main house.
Protect Outdoor Faucets and Garden Hoses
Outdoor faucets freeze first because they're exposed directly to cold air.
Install frost-proof faucet covers over outdoor hose bibs. These insulated covers cost a few dollars and keep cold air from reaching the valve.
For extra protection, close the indoor shutoff valve feeding each outdoor faucet, then open the faucet to drain trapped water.
If you have a sprinkler system, drain all lines and blow out water with compressed air, since trapped water will freeze and crack the pipes.
Pipe Insulation for Winter: Choosing and Installing the Right Materials
Choosing the right insulation depends on your pipes, your budget, and how cold it gets where you live.
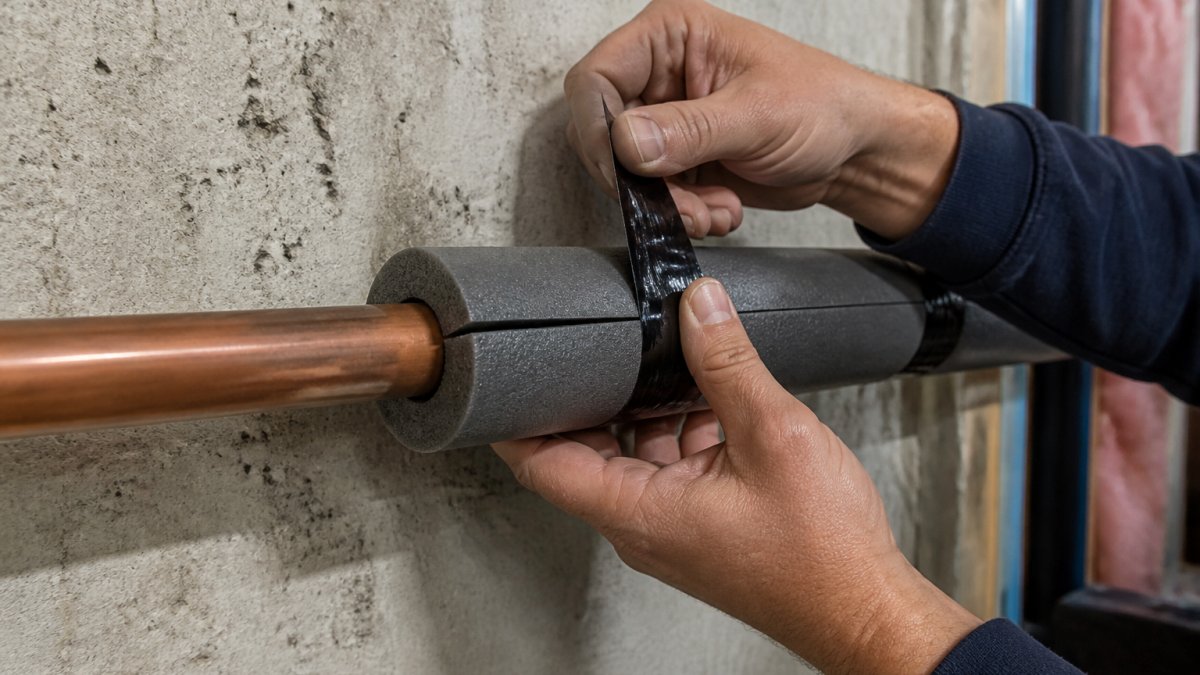
Types of Pipe Insulation and How to Install Them
Foam pipe sleeves are the most popular choice for residential pipes: affordable, easy to install, and effective for most situations.
Measure your pipe diameter before buying.
To install foam sleeves:
- Measure the length of exposed pipe
- Buy sleeves that match your pipe diameter
- Slide the sleeve over the pipe
- Seal seams with waterproof tape
- Wrap joints and elbows with extra insulation
- Secure everything with tape every 12 inches
The whole job takes an hour or two for an average basement.
Fiberglass wrap works well for pipes with irregular shapes or tight spaces where foam sleeves don't fit.
To install fiberglass wrap:
- Unroll the wrap along the pipe
- Overlap each layer by at least half its width
- Secure with waterproof tape every 12 inches
- Pay special attention to joints and connections
- Use extra wraps at elbows and tees
Fiberglass is messier than foam, so wear gloves and avoid skin contact with the fibers.
Heat Cable Installation for Extra Protection
Heat cable is an electric heating system that warms pipes directly.
Heat cable comes in two types: self-regulating and constant wattage. Self-regulating cable adjusts its heat output based on temperature, making it more efficient.
To install heat cable:
- Plug the cable into a GFCI outlet (required for safety)
- Wrap the cable around the pipe in a spiral pattern
- Secure the cable with electrical tape every 6 inches
- Don't overlap the cable on itself, this can cause overheating
- Follow the manufacturer's instructions for your specific product
- Test the cable before cold weather arrives
Heat cable costs $20 to $50 per 25 feet.
Never use heat cable on plastic pipes, the heat can damage them. Stick to copper, steel, or other metal pipes.
Daily and Nightly Prevention During Cold Snaps
When temperatures drop below 20°F, take active steps each day to keep water moving and prevent freezing. These habits are simple but critical during the coldest weeks of winter.
Maintain Consistent Indoor Temperatures
Your home's heating system is your best defense against frozen pipes.
If you're traveling during winter, don't turn off the heat entirely.
Open interior doors to allow warm air to flow into rooms where pipes are located. A closed basement door traps cold air around basement pipes.
If your home has a programmable thermostat, set it to maintain at least 55°F day and night.
Let Faucets Drip to Keep Water Moving
Moving water is much harder to freeze than still water. During the coldest nights, let cold-water faucets drip slowly, just a thin stream, not a full flow.
This works because:
- Moving water releases heat as it flows through pipes
- The slight pressure prevents ice blockages from building up
- Even a small drip can make the difference between a frozen and functioning pipe
Open faucets on the coldest nights, particularly those fed by pipes in unheated areas or exterior walls.
This does increase your water bill slightly, but the cost is minimal compared to water damage.
Open Cabinet Doors Beneath Sinks
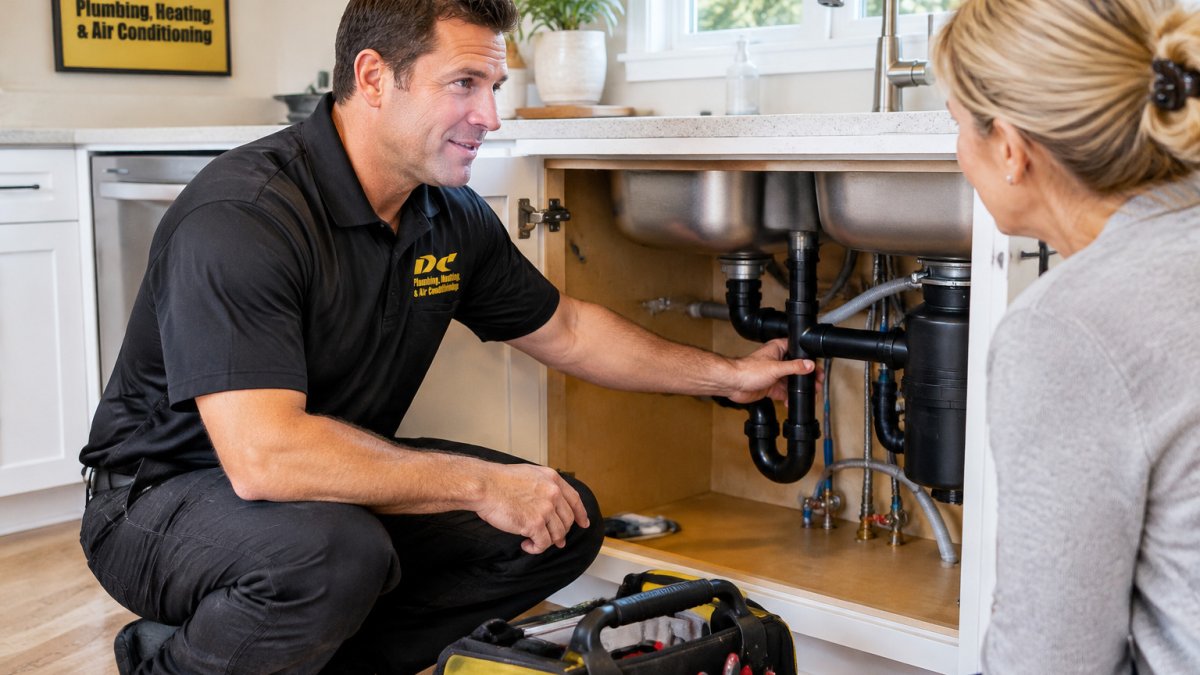
Kitchen and bathroom sinks often have pipes running through exterior walls or cold spaces. Open the cabinet doors beneath sinks to allow warm air from your home to reach the pipes.
This simple step can prevent freezing in pipes that would otherwise be exposed to cold air trapped inside the cabinet.
Leave cabinet doors open during the day and especially at night when temperatures drop. It costs nothing and takes seconds.
What to Do If Pipes Freeze: Response and Recovery
If you wake up to no water or very low pressure, a pipe has likely frozen. Act quickly, the sooner you thaw the pipe, the less risk of it bursting.
How to Thaw Frozen Pipes Safely
First, locate the frozen section. If you know which pipe is frozen, focus there. If not, start with pipes in the coldest areas, exterior walls, basements, and crawl spaces.
Safe thawing methods include:
- Hair dryer: Aim warm air at the frozen section for 10 to 20 minutes. Move the dryer back and forth to heat the entire frozen area. This is the safest method for most homeowners.
- Heating pad: Wrap a heating pad around the frozen pipe and secure it with tape. Leave it in place for 30 minutes to an hour. Check progress every 15 minutes.
- Warm towels: Soak towels in hot water and wrap them around the frozen pipe. Replace them every 5 to 10 minutes as they cool. This is slower but safe and requires no electricity.
Do NOT use these methods:
- Open flame or blowtorch, extreme heat can damage pipes or cause fires
- Boiling water poured directly on pipes, the sudden temperature change can crack them
- Propane heater inside a closed space, risk of carbon monoxide poisoning
Start thawing at the faucet end of the frozen section. As ice melts, water will begin flowing.
Once the pipe is thawed, leave the faucet running for a few minutes to flush out any remaining ice.
When to Call a Professional Plumber
Call a plumber if:
- You can't locate the frozen pipe
- The frozen section is inside a wall or inaccessible
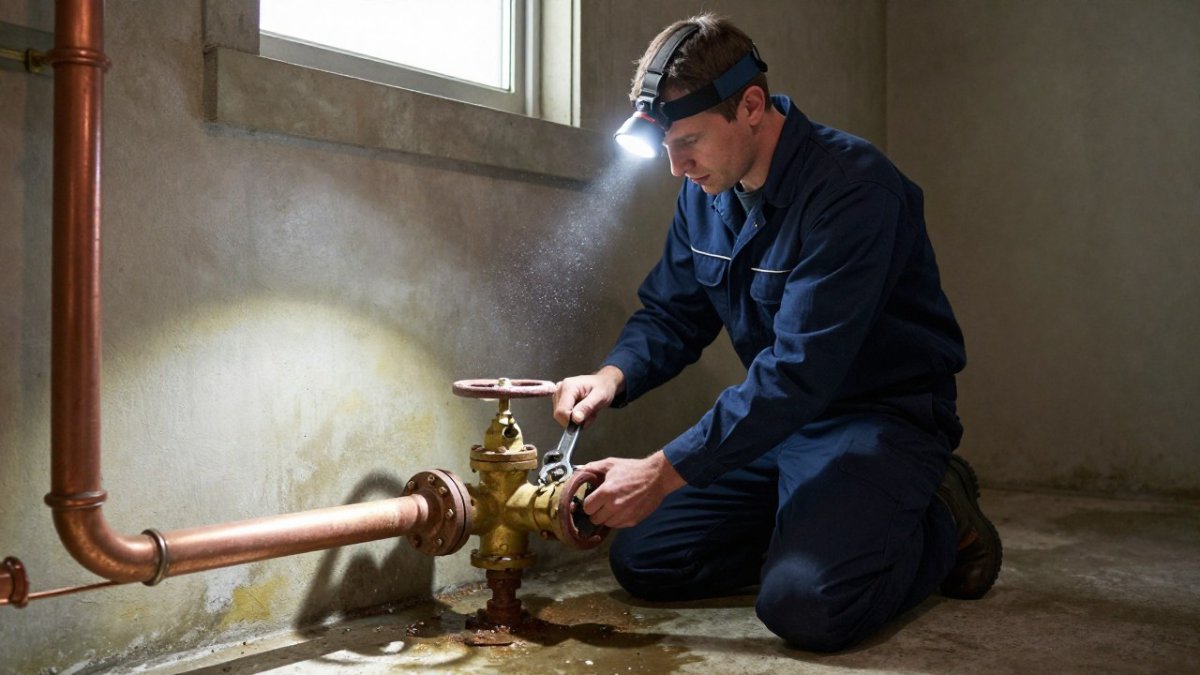
- The pipe has already burst or is leaking
A professional plumber has specialized equipment to locate frozen pipes using thermal imaging. They can thaw pipes safely without risking damage. If a pipe has burst, they can repair or replace it before water damage spreads.
DC Plumbing Heating and Air Conditioning offers 24/7 emergency services for frozen pipes and burst plumbing. Our licensed technicians can respond quickly, assess the damage, and get your water flowing again.
Documenting Water Damage for Insurance
If a pipe has burst and caused water damage, document everything for your insurance claim.
Take photos and videos of:
- The burst pipe itself
- Water damage to walls, ceilings, and floors
- Damaged belongings (furniture, electronics, personal items)
Write down the date and time the damage occurred. Note the outdoor temperature and weather conditions.
Keep receipts for any emergency repairs or cleanup services. Your insurance may cover these costs as part of your claim.
Contact your insurance company as soon as possible. Most policies require prompt notification.
Prevention for Renters and Shared Buildings
Renters and residents of shared buildings face unique challenges. You can't modify plumbing permanently, and you may not control the thermostat or building maintenance.
If you rent, talk to your landlord about winterizing pipes in your unit.
For shared buildings like apartments or condos, contact building management.
In your own unit, you can:
- Use portable space heaters to warm cold corners (keep them away from flammable materials)
- Seal gaps around pipes with caulk or foam sealant
- Install temporary foam insulation on exposed pipes
If your landlord refuses to address frozen pipe risks, contact local tenant rights organizations.
Your Winter Plumbing Prevention Checklist
Use this checklist to winterize your home before cold weather arrives:
| Task | When to Do It | Priority |
|---|---|---|
| Insulate exposed pipes | September-October | High |
| Seal air leaks around pipes | September-October | High |
| Disconnect garden hoses | October-November | High |
| Install faucet covers | October-November | Medium |
| Winterize sprinkler systems | October-November | Medium |
| Test heating system | September | High |
| Check thermostat settings | November | High |
| Inspect basement and crawl space | September | Medium |
| Install heat cable if needed | October | Low |
| Plan for vacation heat management | Before travel | High |
Frozen pipes can strike fast, but prevention stops them before they start. Insulating pipes, sealing air leaks, maintaining heat, and letting water drip during cold snaps are proven to keep water flowing all winter long.
If prevention fails and a pipe does freeze, act quickly. Thaw it safely with a hair dryer or heating pad, and call DC Plumbing Heating and Air Conditioning if you need professional help.
Frequently Asked Questions
What is the minimum temperature needed to prevent pipes from freezing?
Pipes typically freeze when outdoor temperatures drop to 20°F or below, though freezing can begin at 32°F if water is stagnant or pipes are poorly insulated. Indoor pipes are most at risk when home temperatures fall below 50°F. Maintaining your thermostat at a minimum of 55°F protects most residential plumbing, but exposed or uninsulated pipes in basements, crawl spaces, and attics may need extra protection even at higher indoor temperatures.
How do I winterize pipes in my home?
Start by insulating exposed pipes with foam sleeves or pipe wrap, especially in unheated areas like basements, attics, and crawl spaces. Seal air leaks and drafts around pipes using caulk or weather stripping. Disconnect garden hoses and shut off outdoor water supplies. During cold weather, open cabinet doors beneath sinks to allow warm indoor air to reach pipes, and let faucets drip slightly to maintain water flow. Set your thermostat to at least 55°F even when away, and consider installing heat cable on the most vulnerable pipes.
What should I do if my pipes freeze?
First, locate the frozen section by checking which faucets produce no water. Open that faucet to relieve pressure. Apply gentle heat using a hair dryer, heating pad, or warm towels, never use an open flame or blowtorch. Work from the faucet toward the frozen area. If the pipe is burst or you cannot thaw it safely, shut off your main water supply at the shutoff valve and call a licensed plumber immediately. Do not attempt to thaw frozen pipes with extreme heat, as this can damage the pipe or create a safety hazard.
Can pipes freeze if the water is turned off?
Yes, pipes can still freeze even when water is turned off. The water remaining inside the pipe can freeze when exposed to freezing temperatures, and ice blockage can form. However, turning off water to outdoor faucets and garden hoses and draining them before winter is essential winterization. For indoor pipes, keeping water flowing slightly (by letting faucets drip) and maintaining indoor heat is more effective than shutting off water, as stagnant water freezes more easily than flowing water.